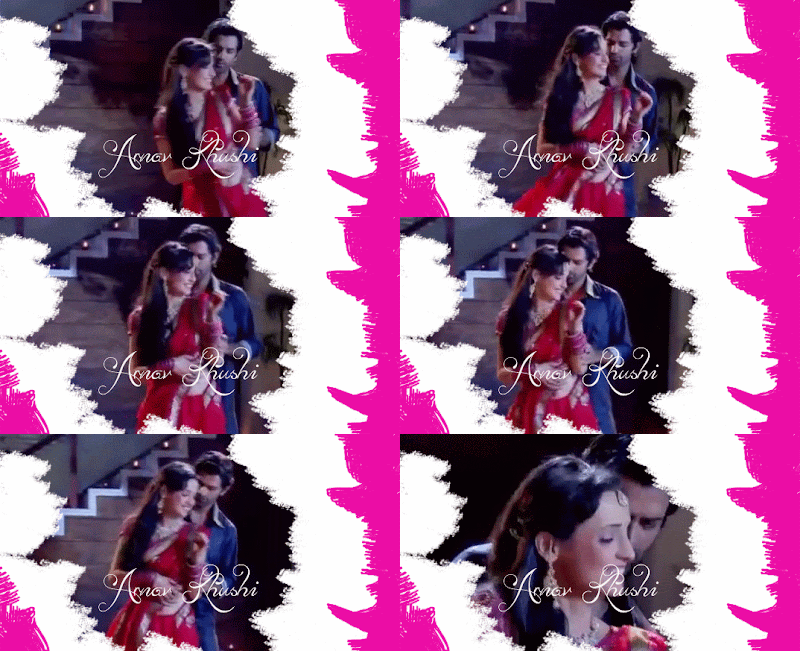
well this tutorial helps u make GIFs like this
u need well photoshop nothing more but for different new fonts like the ones used in these two u need to download more fonts
u can google them or simply download it from here
so first open PS and then open your GIF in which you want effects like this or simply make one (will give a tutorial on this later ;)
so the one i have used a GIF image that has 63 layers = 63 frames
using the play button u can see how ur GIF plays and then cut extra frames if any that u don't want
and then crop the extra space of your GIF that u don't want
^^ this is the image i got after i used crop (using crop option isn't necessary)
the new layer will be shown in layer's window
Note : it should be shown on the top of all other layers if not and is above layer 1 then select New layer and drag it up till it reaches the top of all layers
at the end of using white brush your GIF will look like this ^^
and your frame timeline like this -
^this shows brush has been applied to all frames
and ur layer window will be like this
now again add a new layer above this layer
use a different type of brush or the same one
apply the same way
now selecting layer a go to layer > merge down
now again go to layer > new layer
selecting the text tool and the font type and size type the text on this new layer
the Layer's window will be like this
now selecting text layer go to layer > merge down
play your GIF and look at the final result if it is alright go to file > save for web > following the procedure save your GIF image :)
for the second one where u can't use brush on the image becoz it may hide the image or the GIF size is small after cropping and all go to canvas size > increase the width or height or both and then following the same procedure add brush but use brush mostly on the increased canvas space


No comments:
Post a Comment